An artist's pastel is pigment in drawing stick form. It is applied to a surface that has enough “tooth” to grab and hold onto the color. Dry pastels are often held together with a gum binder (gum tragacanth, or gum arabic), and each maker has their own recipe that likely includes some additional ingredients.
I started making pastels from hand foraged pigments last year using a very weak gum tragacanth solution, and discovered by accident that some of my gathered soils contained enough clay to hold everything together quite nicely without the addition of any binder. So this year I have started over and am testing each of my soil pigments again, to see which ones need a (yet to be determined) binder, and which ones work just fine on their own. That is the subject of today’s post.
I started making pastels from hand foraged pigments last year using a very weak gum tragacanth solution, and discovered by accident that some of my gathered soils contained enough clay to hold everything together quite nicely without the addition of any binder. So this year I have started over and am testing each of my soil pigments again, to see which ones need a (yet to be determined) binder, and which ones work just fine on their own. That is the subject of today’s post.

To make a good drawing stick, you need to start with the finest pigment powder possible. I start with my soil pigments because I cannot get the rock pigments ground into small enough particles with the mortar and pestle. You don’t want any grains of sand to end up in the powdered pigment you use to make pastels as you want to be able to lay down a smooth and consistent mark on your paper with the finished stick.
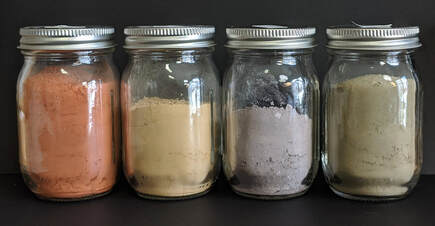
An easy way to get a fine powdered pigment from a soil sample is to use a levigation technique - which is basically floating the finest particles of the soil in water and pouring them off into another container. You let the fine pigments settle, siphon off the extra water, and pour the rest through a coffee filter to dry. I grind my dried pigment into a soft powder (making sure to wear a good dust mask) and store it in a jar with a lid.
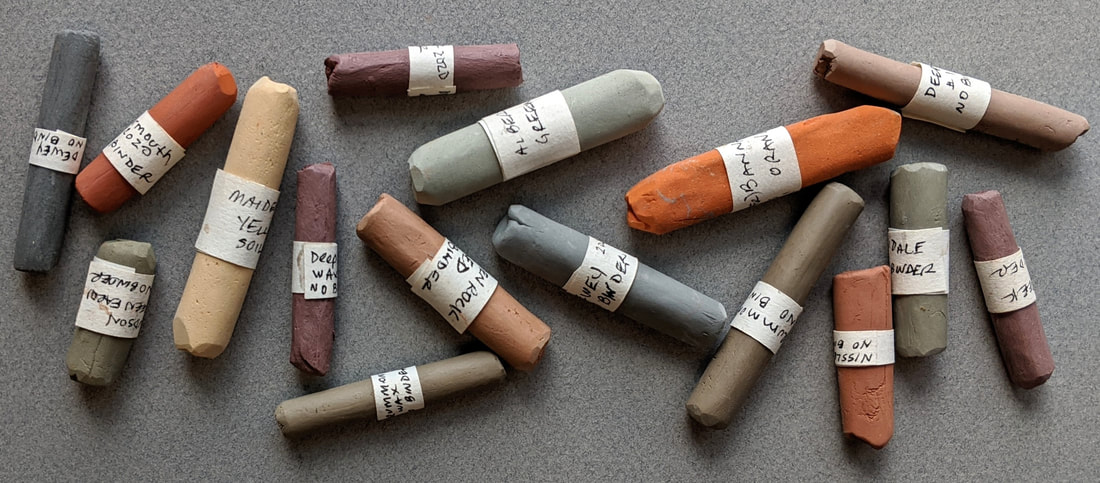
Measure out a couple of teaspoons of your pigment powder onto a non porous flat surface and add just enough water to work it into a smooth consistency. When you can handle the material without anything sticking to your fingers, you can form it into whatever shape you are comfortable drawing with (I like to roll mine using a scrap piece of heavyweight paper). Leave your sticks to dry overnight, partially covering them so they dry slowly and don’t crack.
The pastels I have made so far have varying degrees of firmness, several of the pigments have so much clay that the resulting drawing stick is almost crayon like. Those sticks put down marks that do not blend or lift nearly as much as some of the others (though they are still water soluble and will lift with a wet brush). Several of the pastels are so soft that they will need some additional binder ingredients to stay in place, and I plan to explore a few recipes in the coming weeks. Stay tuned!
