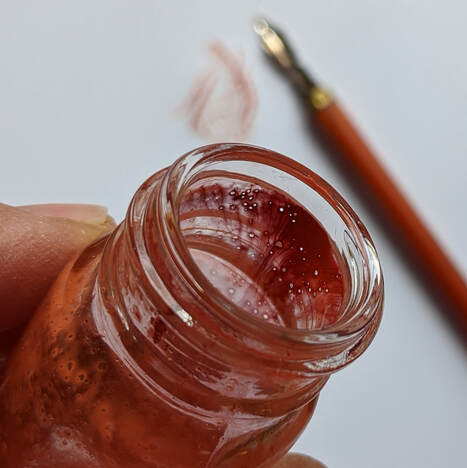
When I started making drawing sticks from my foraged soil pigments last year, I assumed that I would need to add some additional binder besides the clay that was already in them. I searched for websites on pastel making and found references gum tragacanth - which is the dried sap from several plant species. I purchased a bag of food grade gum, which (according to wiki) is used as a thickener and an emulsifier in food and drugs, and is also used in cake decorating. It came in dried pieces that You re-hydrate with water - quite a bit of water, close to a 20 parts water to 1 part gum (it expands a LOT). 
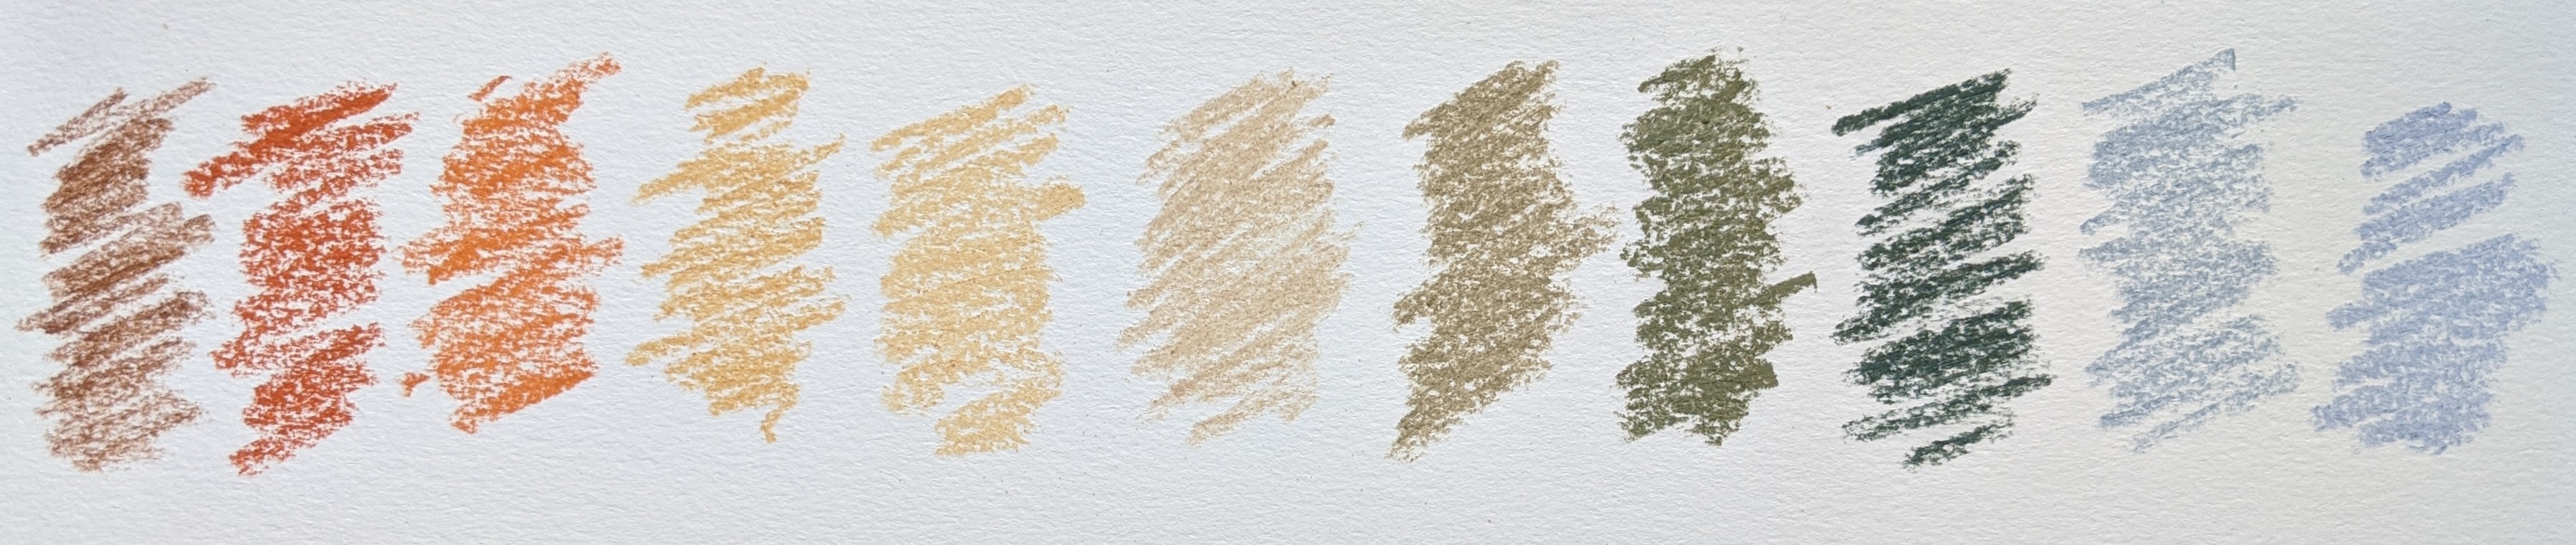
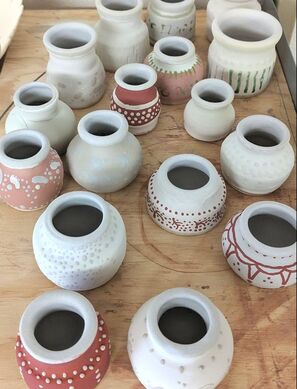
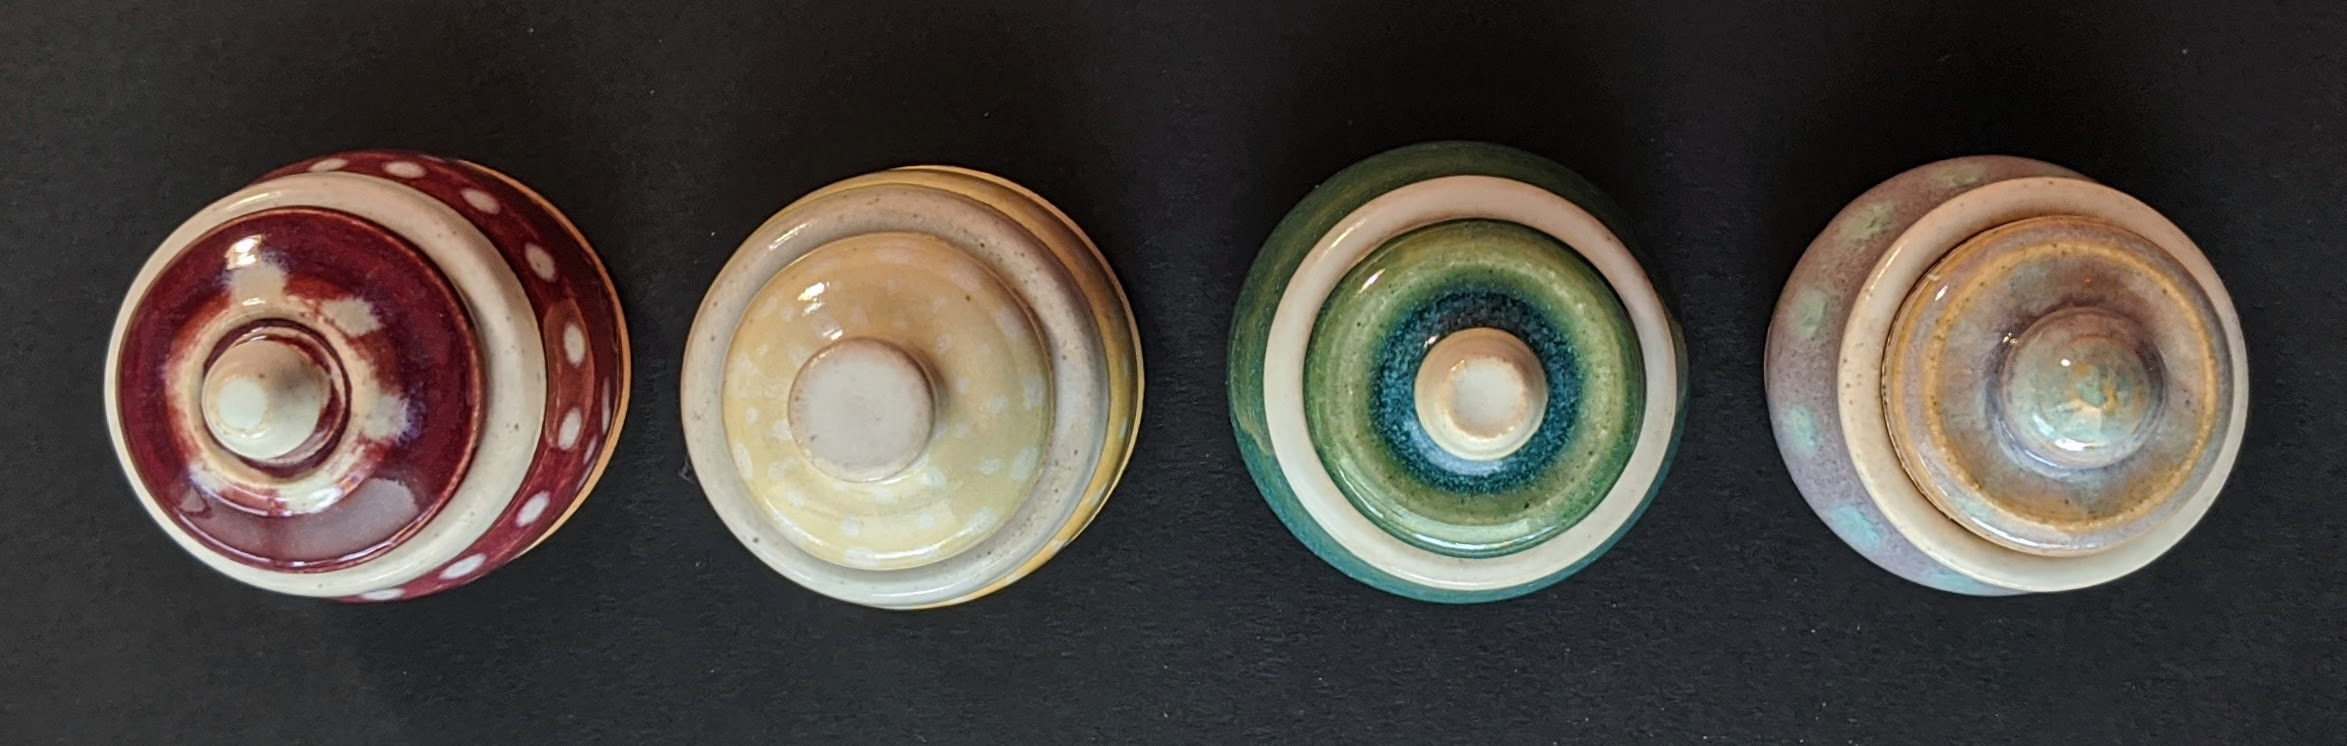
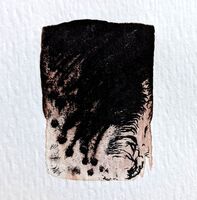
Adding water to the small pieces of gum rehydrated them into globules that would not stir into a smooth gel. I tried grinding the gum pieces into a powder first and then re-hydrating, but just ended up with smaller globules. I went ahead and mixed both of these with my foraged clay soils, adding different amounts - from almost nothing to a lot, and tested the resulting pigment sticks. I found that adding gum tragacanth to my foraged soil pigments did not change the way the drawing sticks turned out - as they were already sticking together nicely because of the clay that is in them naturally. And the addition of extra gum tragacanth did not make the softer pigment sticks any harder, it just made the stick shape and surface of the stick look funny (you can see that in the stick on the right side below, and in the next video). Since gum tragacanth is mentioned numerous places as the traditional binder for pastels, it must be useful to hold pastels together if you are starting from scratch with certain individual ingredients (pigment, chalk filler, etc) but for my purposes, it did not change the way the sticks worked on the paper for the better, so I stopped using it. (If you have successfully used this binder, I would love to hear your opinion/results in the comment section!) 
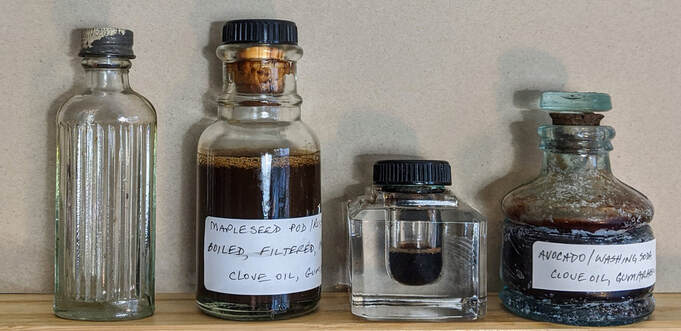
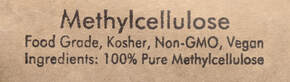
Another binder I found reference to is a compound called methylcellulose. It is derived from plant fiber. It is used as a thickener in foods and cosmetics, as well as for bulk in laxatives. I purchased it in powdered, food grade form, and it re-hydrates into a nice clear gel. The mixing instructions had me heat water to 150 degrees and dissolve the methylcellulose in a 1:8 ratio in the hot water (1 part methylcellulose to 8 parts water), stir while cooling, and then store in the refrigerator. Adding a small amount (1/8 to 1/4 teaspoon, depending on the pigment) of the gel to my pigment stick mixture resulted in a harder stick - one that released less of the pigment to the paper. Being able to increase the hardness of the drawing sticks was useful for a couple of my soil pigments that originally made a very soft drawing stick. 
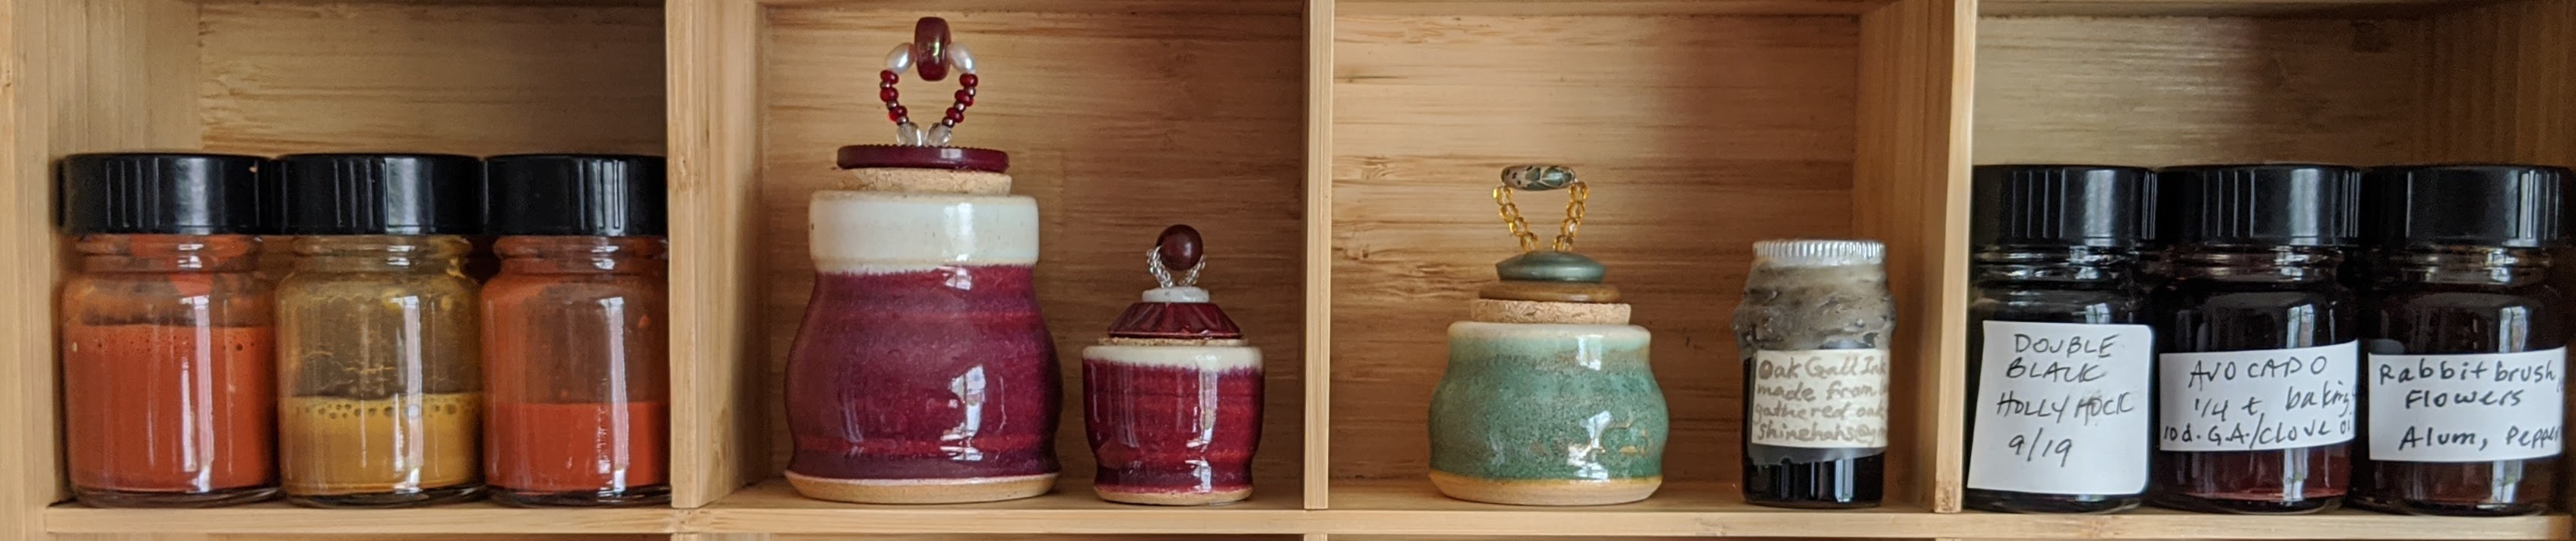
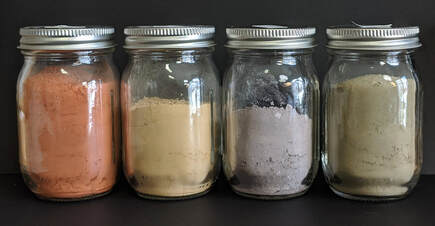
Another ingredient that is commonly added to commercial drawing sticks is natural kaolin clay. I found it to be a good additive for some of my soil pigments that do not contain much clay. Kaolin clay also makes a nice drawing stick on its own, with an almost oil pastel consistency. The only drawback of this particular clay is that it is a very bright white, so it lightens the color of each pigment stick (though that is not always a bad thing, as it has allowed me to make much lighter values of some of my colors). 
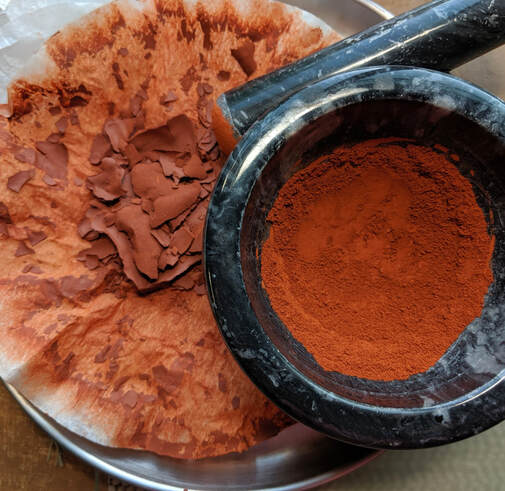
As I was experimenting with different binders, I happened to forage a neutral tan soil pigment that contained a very waxy clay - it was so fine that much of it went right through the coffee filter when I was capturing and drying the pigment. The clay would not settle, and I had to let it evaporate to dry it out. This neutral toned clay has turned out to be just as useful as the kaolin clay, and I have started adding it to some of my darker soil pigments that need more clay to make a good drawing stick.
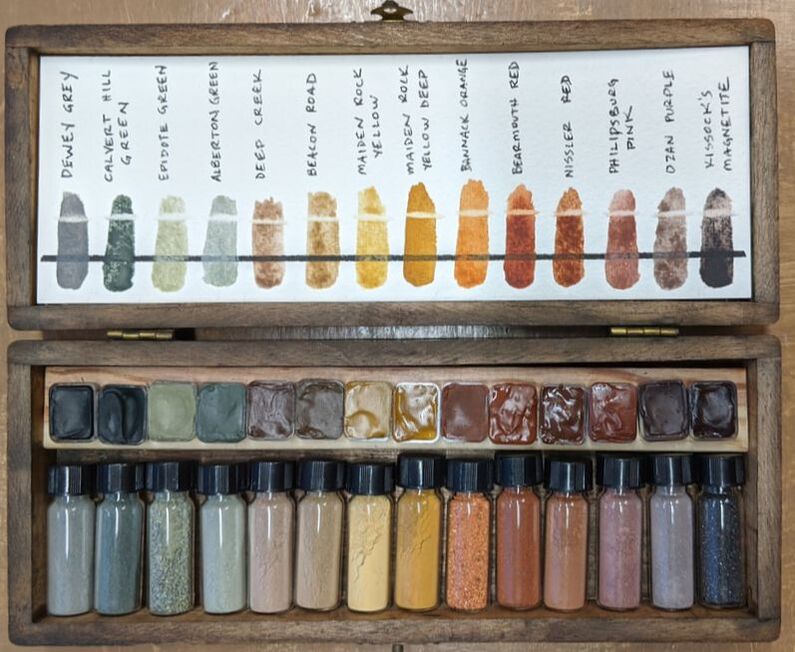
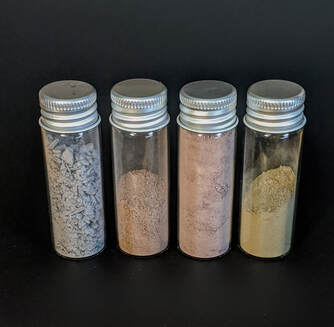
 The following video clips demonstrates the effects of adding gum tragacanth, methylcellulose and kaolin clay to the foraged clay pigment (I mistakenly say that methylcellulose comes is a plant sap, but it does not, it is processed chemically from plant material). Near the end of the video, I show what the foraged tan clay looks like before it dries. This second video clip also shows the addition of gum tragacanth, methylcellulose and kaolin clay to a foraged soil. At the end it shows how the foraged tan clay also changes the consistency of the drawing stick. While kaolin clay lightens the pigment sticks, this tan clay keeps the value the same, but tints it slightly more yellow. The first (round) stick in the video was made with just the foraged/processed pigment and water. The last clip shows the change in the pigment stick with the addition of the foraged tan clay, both with the green pigment (from the last video) and a grey pigment that is also very soft. Both of the sticks are made of the foraged/processed pigmented clay, water, and a small amount of the waxy foraged tan clay. 
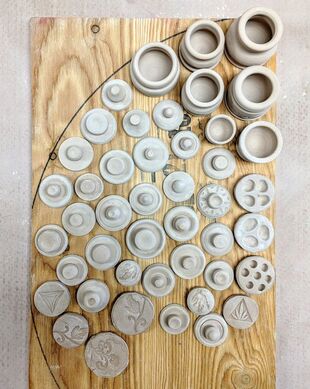
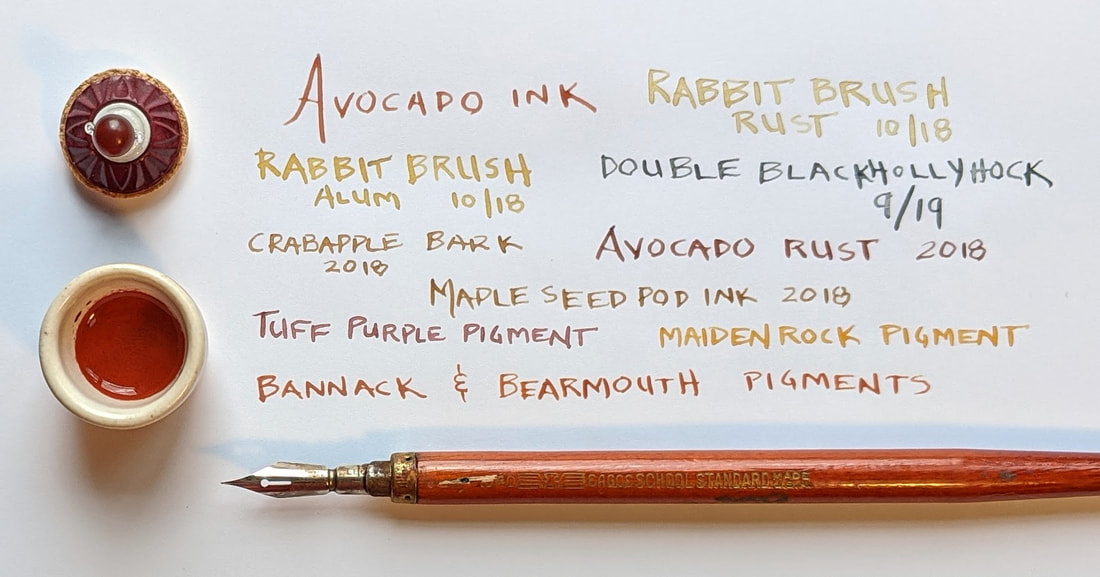
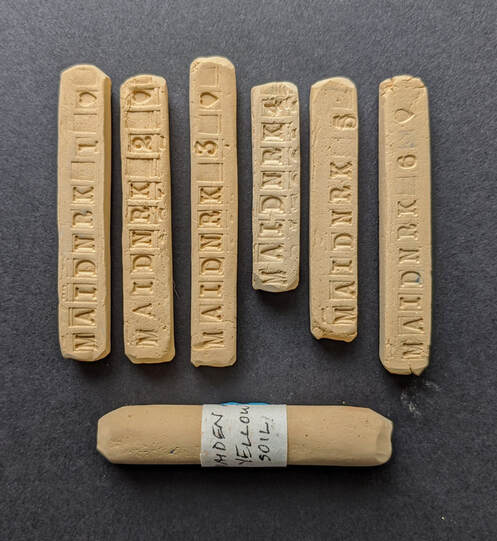
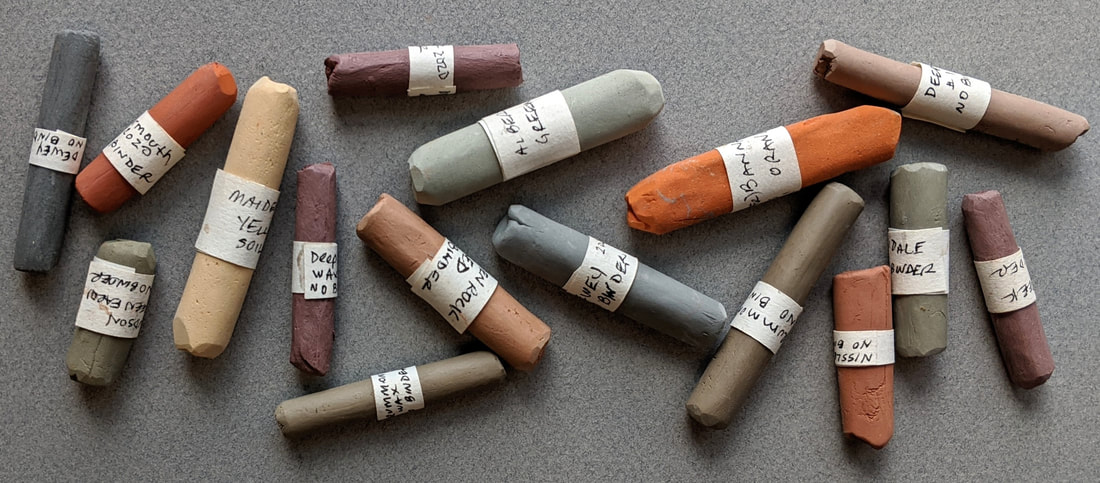
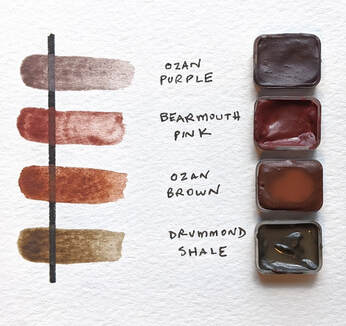
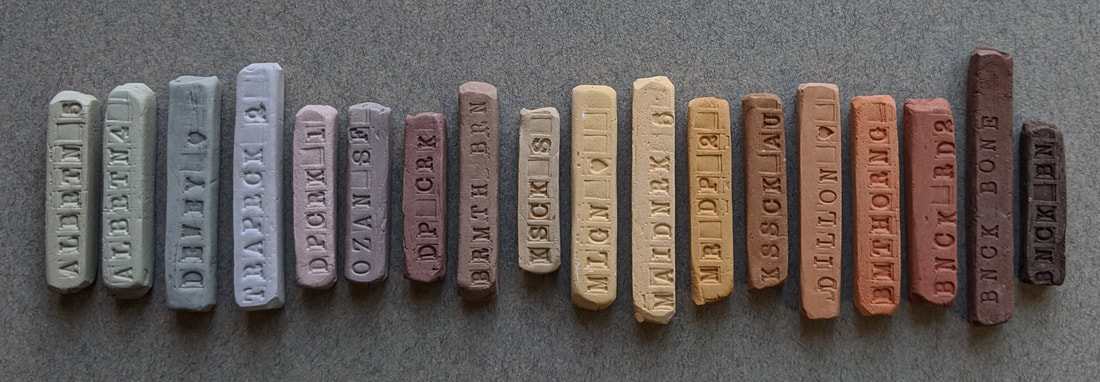
In this final video, I have started to tint the pigment sticks with other pigments so that I can have a wider range of colors to work with when I use them. The added pigment shown below is natural indigo (the kind you dye with). I use it because it is such a fabulous color - but it is not known to be lightfast for artwork, so anything I create with it will have to be protected against UV light. The base clay is Hudson Green - an upper midwest clay soil given to me by a friend. I add a small amount of kaolin clay because the indigo tends to make the sticks harder, and the hudson green makes a pretty firm stick on its own. You will also see that I have started to make my pigment sticks square, and am stamping them so they can be easily identified (I keep a detailed notebook with the recipes for each stick). I built the little wooden form out of craft wood (pre-cut and easy to find), and use small pieces of wax paper to keep the wet clay from sticking. I leave them overnight between a couple of pieces of drywall - the plaster helps to draw the moisture out, and the boards keep the drawing sticks from warping. I finish drying them on a rack. I am still experimenting with my foraged pigment drawing sticks, and none of my findings are absolute, There are certainly other additives that work well with different ingredients, and probably some that I haven't discovered that might help the foraged clay soils and pigments I am finding here. I am happy to answer any questions, and would love to hear from anyone who also makes these in the comments below!
9 Comments
I began my pigment journey in the fall of 2018 by learning to make ink. You can make ink from many things, I started with natural dye from plant material. It's not difficult - ink made this way is basically a concentrated dye solution that you add a few drops of gum arabic to (which helps it stick it to the paper), plus a drop of clove oil to keep it from molding. Check out the book "Make Ink" by Jason Logan, if you want to learn more. I quickly discovered that I needed a lot of little jars to hold the ink I was making. I really like the little glass jars below, they are small and have a watertight seal to keep the ink from evaporating. As I moved on to handmade watercolors, I found I could save some of my finest (smallest particle) mineral pigments in jars and use them like ink. You just have to shake the bottle first. I also stored ink in vintage bottles. (Though I think the ribs on the far left bottle mean it held something toxic, so I will most likely leave that one empty.) Then the maker in me wanted to go a little further, so I joined the local ceramics studio and started throwing inkwells. Once they were fired, they needed lids. I threw some on the wheel, and cut corks to use as stoppers. On others, I added the things I've been collecting for years. Often the lids took longer to make than the inkwells. But I enjoyed every minute of it. "Inkwells" Ceramic, vintage buttons and beads View from the top. Vintage buttons, beads, semiprecious stones. Ceramic inkwell lids. The tiniest one makes me very happy. I have been struggling with what to call the pigment sticks I’ve been making from foraged soil, I alternate between just that (pigment sticks), and calling them pastels. The word “pastel” is a little confusing, as it is not only the word for a particular medium and the finished work, but also a descriptive term for a pale color. In reality, pastels come in a range of values for each hue - from pale to highly pigmented - and this allows you to place the value you need without having to mix them like you would with oil paints. Learning to recreate these materials from foraged pigments has made me think about the qualities I want from pigment in a drawing stick form, whether it be the soft round ones that leave fat lines and a lot of pigment, or the harder square pastel sticks, skinny pastel pencils and slightly oily Conté crayons that are all good for putting in fine-edged detail. The Conté Crayons (in earthy reds, black, grey and white) are made with kaolin clay and natural pigments, and they have a slightly more oily feel than the other pastels - they really stick where you put them. Especially useful in drawing the details, they make strong whites, rich warm tones, and the black Conté is the best for a dark matte black. The dry pigment in pastels and Conté crayons is held together in stick form with a binder, the binder ingredients (and amount of each used) determine the consistency of the stick and how much pigment is transferred onto the paper with each stroke. Generally, it’s the “tooth” of the paper/prepared surface that is responsible for how well the pigment adheres, as a rougher surface will grab the pigment and hold it in place. (Note that this different than a watercolor binder, which glues the pigment particles to the paper as it dries.) Here’s where the foraged soil pigments come in - the samples I gather contain varying amounts of clay, and because of that, the processed pigment can be shaped into a nice drawing stick without any additional binder. Depending on the amount of clay in each foraged pigment, some sticks end up softer than others (though so far they all hold together without crumbling). But I would like to be able to create different degrees of hardness for each of my pigments, and would also like to replicate the consistency of the Conté crayons I use in the pastel portraits, so I have begun to experiment with stick shapes and different pastel binders (gum tragacanth and methyl cellulose), as well as some extra additives like kaolin clay, beeswax and oil. That ongoing trial (and error ☺) will be the subject of a future post, so stay tuned! If you want an extra glimpse at these pigment experiments in the meantime, follow me on instagram @kjodigear, specifically #kjodigearpastels.
Magnetite is a black iron oxide mineral that is common in sand form in the hills near where I live. It is easy to find in the spring, as it is denser than the surrounding sand and concentrates in the gullies when the spring melt runs through. The black sand is attracted to magnets, and that makes it easy to separate out from the rest of the material, so that it can be used as a pigment for watercolor paints. The sandy particles mull up fairly easily, and result in a dense black granulating paint with a red iron oxide secondary color. Here's the best part - you can manipulate the magnetite in wet paint with a magnet, causing the pigment to form fine lines in the magnetic field - and that makes for some fantastic effects on paper. An artist's pastel is pigment in drawing stick form. It is applied to a surface that has enough “tooth” to grab and hold onto the color. Dry pastels are often held together with a gum binder (gum tragacanth, or gum arabic), and each maker has their own recipe that likely includes some additional ingredients. I started making pastels from hand foraged pigments last year using a very weak gum tragacanth solution, and discovered by accident that some of my gathered soils contained enough clay to hold everything together quite nicely without the addition of any binder. So this year I have started over and am testing each of my soil pigments again, to see which ones need a (yet to be determined) binder, and which ones work just fine on their own. That is the subject of today’s post. To make a good drawing stick, you need to start with the finest pigment powder possible. I start with my soil pigments because I cannot get the rock pigments ground into small enough particles with the mortar and pestle. You don’t want any grains of sand to end up in the powdered pigment you use to make pastels as you want to be able to lay down a smooth and consistent mark on your paper with the finished stick. An easy way to get a fine powdered pigment from a soil sample is to use a levigation technique - which is basically floating the finest particles of the soil in water and pouring them off into another container. You let the fine pigments settle, siphon off the extra water, and pour the rest through a coffee filter to dry. I grind my dried pigment into a soft powder (making sure to wear a good dust mask) and store it in a jar with a lid. Measure out a couple of teaspoons of your pigment powder onto a non porous flat surface and add just enough water to work it into a smooth consistency. When you can handle the material without anything sticking to your fingers, you can form it into whatever shape you are comfortable drawing with (I like to roll mine using a scrap piece of heavyweight paper). Leave your sticks to dry overnight, partially covering them so they dry slowly and don’t crack. The pastels I have made so far have varying degrees of firmness, several of the pigments have so much clay that the resulting drawing stick is almost crayon like. Those sticks put down marks that do not blend or lift nearly as much as some of the others (though they are still water soluble and will lift with a wet brush). Several of the pastels are so soft that they will need some additional binder ingredients to stay in place, and I plan to explore a few recipes in the coming weeks. Stay tuned! So here's the bottom line: If you can process your colored rocks or soil into tiny, consistently sized particles, you can make paint from them. Pastels or drawing sticks too (but that is the subject of another post). Some of the above pigments come from soil, some (like the magnetite on the far right) started as sand, and some are from rocks I found that were soft enough for me to grind into a powder. One way to know if a rock will be soft enough for you to crush (I used a hammer and an anvil, and then a mortar and pestle) is to rub it across concrete, or another hard rock surface. If your rock leaves a colored mark, you will be able to use it. Not every paint I make ends up the same color as the rock or soil it came from, sometimes the pinks and dark reds turn orange and brown, and often the blues and greens mull into blue-grays and khaki shades of green. Some samples I gather make a "stronger" paint that others. I'm finding my foraged yellow and red ochre pigments make paints with the highest tinting strength. Below is a video that demonstrates how I use water to process the colored soil I find. This process (called levigation) produces a powder I can use to make paint and pastels: A few other ways to get usable pigment from your soil and rocks: If you are interested in the process of making handmade watercolors, visit my previous blog post.
Happy mulling! When I started this handmade pigment and paint journey over a year ago, I had no idea how fascinating the process was, or how caught up I would get in it all. Since my last online art journal entry, I have explored and experimented with plant based inks and dyes, and learned how to get lake pigments for paint-making from those dyes. I have hand foraged earth and mineral pigments (soil/rocks/sand) near our home, and have been processing those pigments into a usable form to make both paint and pastel drawing sticks. I do not consider myself an "expert" in any of this, but I am an enthusiast, and I delight in being a trial and error learner. I'm sharing what I've learned so far, with a goal of a new entry much more frequently than before! Please feel free to ask questions or share your experiences in the comments. I've made a short video of my watercolor making setup: List of Equipment - glass muller (I like the smaller diameter surface area, mine is about 2.5") - 1/4" thick glass plate, 12" square (cut and smoothed edges by the glass shop) frosted by me using F400 silicon carbide powder - palette knives (one with a flat end for scraping paint) - spray bottle filled with distilled water -plastic squeeze bottle with dropper tip for watercolor medium - small containers and pans for finished paint - N95 respirator mask, gloves Watercolor Medium Recipe Watercolor paint is a mixture of fine pigment particles, and a liquid medium or vehicle that holds it all together. This recipe is specifically for paint pans that dry out - it allows you to re-wet the dry paint with a brush, apply it to your paper, binding the pigments to your paper so that they don't rub off. I modified a watercolor medium recipe that I found on an old watercolor blog called handprint.com (an excellent source of information about anything to do with watercolor painting/supplies). - 3 Tablespoons Gum Arabic solution (if you are using the powder, mix 2T + 2t distilled water with 1T + 1t Gum Arabic powder, mix it in your container, then add the rest of the ingredients) - 1Tablespoon Honey - 1 Tablespoon Glycerin (available at the drugstore) - 6 drops Ox Gall (helps the pigment particles disperse more evenly on the paper) - 2 drops clove oil (anti-fungal/bacterial) Mix this all up in a plastic squeeze bottle with a dropper tip and keep it in the refrigerator. Each pigment you use (either purchased or foraged) will require a slightly different amount of medium to make a good paint. I start with a baseline recipe of 1/2 teaspoon of pigment to 30 drops of my medium and adjust from there. Not enough medium, and your paint will shrink and crack and won't be easy to re-wet. Too much medium and it will stay sticky in the pan and won't dry. Certain pigments can also need a slightly different ratio of the individual ingredients. I have found that some of my pigments with larger particles (like the paint made from old bricks) need a few extra drops of Gum Arabic solution to stay stuck to the paper (your goal is to be able to rub the dry paint from one of your painted swatches and not have the pigment come off on your finger). It is a good idea to start small (1/2 teaspoon of pigment makes about 1/2 pan of paint) measure accurately, and keep detailed notes! Here's a short video on mulling paint: It started with a visit from my friend Sarah, her book recommendation ("Making Ink; A Forager's Guide to Natural Inkmaking" by Jason Logan), and a walk up the butte behind our new house. (We've moved back to Montana since my last entry). The hills around us are covered in a yellow flowering shrub called Rabbitbrush that Sarah said was sometimes used to dye wool and cotton. So we picked some of the flowers, and I started experimenting. First with inks (which are basically natural dyes that you concentrate by evaporating off the water). I made ink from the rabbitbrush, from cotoneaster berries, crab apple bark and the mapleseed pods in our back yard. I kept a notebook: and painted and used dip pens: You can get amazing colors from plants. Avocado seeds and skins make the most incredible blood red. The problem with getting dye colors from plants is that many of them are not stable. They are often pH sensitive (the cotoneaster berry ink is a lovely purple in the bottle, but turns grey as soon as it hits the paper) and they can also be fugitive (which means they fade in the light). The yellow rabbitbrush ink test strip I have in my sunny studio window has faded to about half of its original color. Avocado is also a fugitive color, unfortunately. But so far, the mapleseed pod ink is staying strong. But here's the cool thing - you can turn your plant dyes into something called lake pigments - which are solid pigments that you can grind and turn into watercolor paint, or oil paint, or egg tempera. And sometimes the lake pigment of a particular color is more stable than the dye is. More on that in the next post!
A move across the country, and a rediscovery of an old medium. Storm Clouds, Aroostook County Pastel on paper 7" x 8" Sunset, Aroostook County Pastel on paper 11" x 11"
|
K. Jodi GearPlays with color, purchased, found and foraged. CategoriesArchives
July 2020
|